
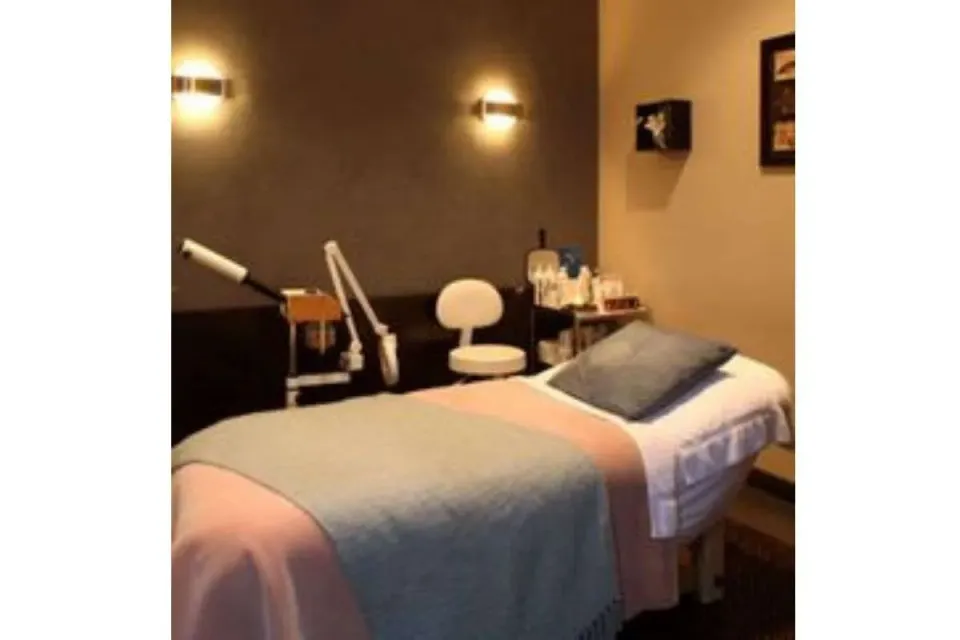
Small spa design starts with how clients and staff use the room: entering, preparing, receiving a service and resetting for the next appointment. Storage, lighting, color and mirrors can improve the experience, but they cannot replace usable working space. These eight ideas help you decide what belongs in a compact spa before you buy furniture.
Start with a measured plan
- List the services, equipment and storage each room needs.
- Map client movement, staff tasks and door openings.
- Protect privacy and access before adding decorative pieces.
- Check changes with the appropriate designer or qualified professional.
- Test the layout through a complete appointment and reset.
Draw the room to scale, including fixed fixtures and furniture in use, not only when tucked away. Show drawers open, chairs occupied and equipment positioned for work. For US projects, the Access Board's illustrated guide shows why approach and turning space belong in this discussion. Your project's requirements need their own review; a layout photograph is not a compliance plan.
Put the room's purpose and budget into your spa business plan. A clear brief makes it easier to decline furniture that looks appealing but has no useful role.
1. Plan room use before sharing rooms
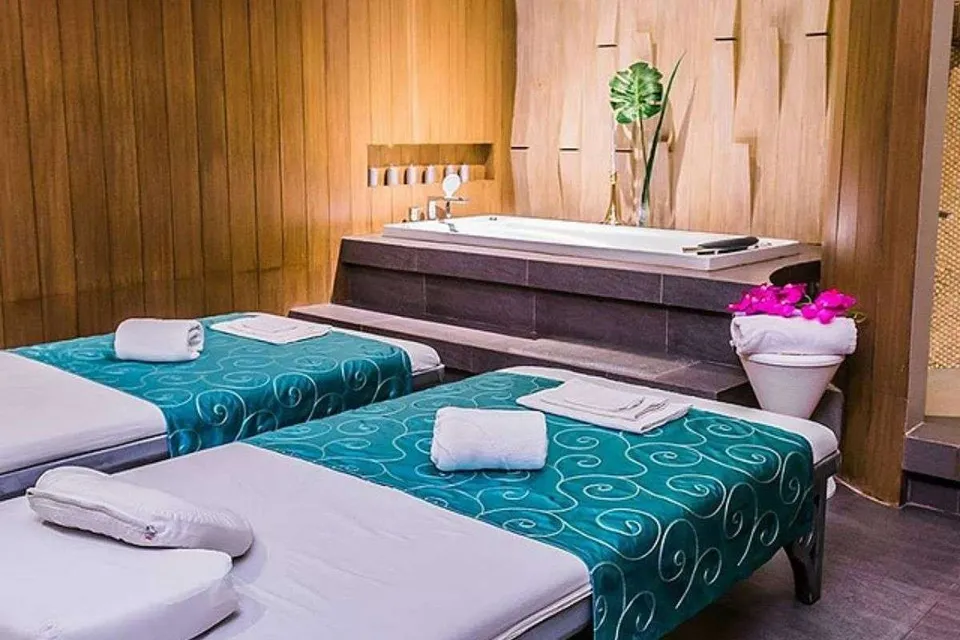
One room serving different appointments at different times is a different proposition from two clients sharing it simultaneously. Start by mapping when each service needs the room, what equipment it uses and how long preparation and reset take.
Check whether noise, conversations or changing arrangements would compromise privacy. A screen may alter a sightline without resolving sound or movement. Do not add another bed simply because it fits in a photograph.
If the issue is scheduling, review room use before changing the layout. The spa occupancy calculator can help you examine your capacity assumptions. Keep room availability distinct from therapist availability and the time needed between appointments.
2. Give shelves a specific job
Plan storage around the items staff actually retrieve. A shelf for frequently used supplies has different requirements from a retail display or a place for occasional stock. Decide its contents before choosing its size or position.
Keep daily quantities close to the point of use and assign overflow stock a separate home. Label containers where that helps staff return items consistently. Avoid filling every visible surface simply because more shelf space is available.
Review reach, cleaning access and what happens when someone opens a door or drawer nearby. Have a suitable professional assess mounting and load requirements; this planning exercise does not provide installation instructions.
3. Review under-bed storage carefully
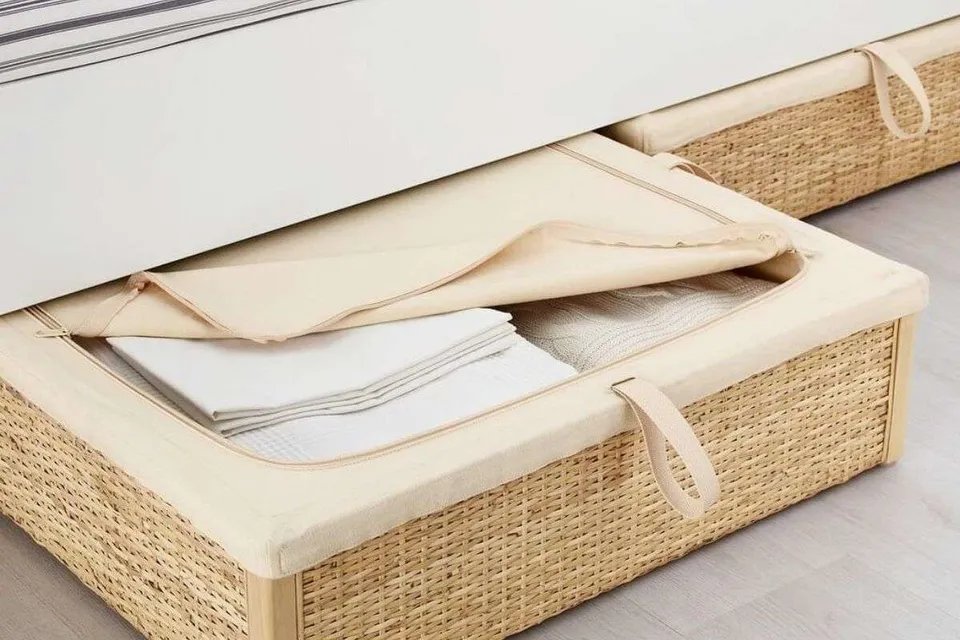
Under-bed space may look unused while still being needed for equipment movement, cleaning or staff access. Check the bed manufacturer's instructions and the way your team works before treating that area as storage.
If the arrangement is suitable, choose containers appropriate to the items and your cleaning procedures. Give each container a defined purpose. Avoid loose supplies, trailing fabric or a hidden collection of items nobody has reviewed.
Try retrieving an item during a simulated appointment. If staff must move the client, interrupt the service or shift other equipment, find a better location. Storage only helps when it remains usable throughout the working day.
4. Plan lighting for each task
Review lighting from both the client's position and the therapist's working position. Look at what someone sees while reclining, including glare, reflected light and the ceiling. Then check the tasks staff perform during preparation, treatment and cleaning.
An atmosphere photograph will not show whether labels are readable or whether a work area has adequate visibility. Write down the lighting needs for each task and discuss them with a qualified professional, including any equipment-specific requirements.
Before buying decorative lighting, check the space it occupies and how it will be maintained. Keep the room plan clear of improvised fittings and installation shortcuts.
5. Make comfort fit the available space
Think about the belongings a client brings: a coat, bag, shoes or an umbrella. Provide a practical place for them so they do not end up on a working surface or in a route through the room.
Choose comfort details that fit your service and cleaning routine. A large upholstered chair or extra cushions can create more handling without improving the appointment. Evaluate each addition by asking when it will be used, where it will live and who will maintain it.
Use the same restraint with decoration. One well-placed piece may give clients something pleasant to look at without crowding several surfaces.
6. Keep clutter out of the daily workflow
Give every item a home and make that home easy to identify. Separate supplies ready for use from items awaiting cleaning, replenishment or another action, following the procedures appropriate to your services.
Walk through the reset with the staff member who performs it. Notice where they put used items, reach for replacements or leave packaging. A room can look tidy before opening and become awkward after one appointment if those tasks were never planned.
Create a short opening and closing checklist. Include restocking, returning movable items and reporting storage problems. Resolve repeated overflow by reviewing quantities and workflow before buying another cabinet.
7. Use a consistent light color palette

Try a limited palette on samples in the actual room. Look at them at different times of day and beside existing flooring, furniture and linen. Photographs and screen colors are useful starting points, but they are not the finished experience.
A light palette can be one design choice; it does not create additional usable floor area. Keep important signs and labels readable rather than allowing every surface to blend together.
Connect the room's appearance to your spa branding. Repeating a few considered colors and materials gives you a reference when choosing the next object.
8. Place mirrors with privacy in mind
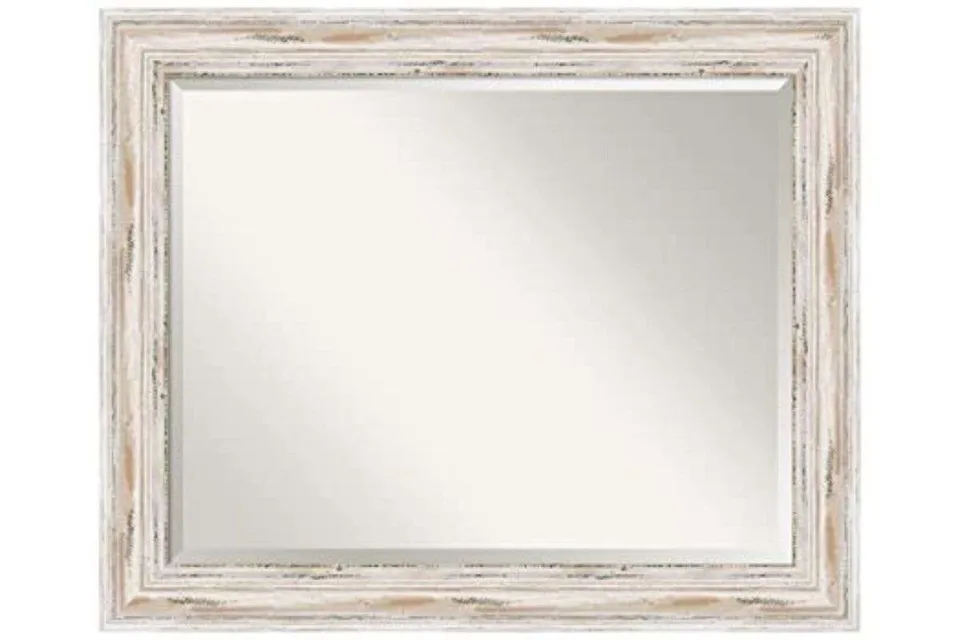
Check the reflection from the entrance, reception and the client's position before choosing a mirror location. Consider whether it reveals a changing area, another client, storage or a bright light source.
Decide what the mirror is meant to do. A mirror used during a consultation has a different purpose from a decorative wall feature. Give it a position that serves that purpose without taking over space needed for movement or equipment.
Include cleaning access and professional installation in the decision. Mirrors may change the view of a room, but they do not solve a cramped working layout.
Walk through the plan before buying
Simulate a complete visit with your team: arrival, belongings, preparation, service, checkout and reset. Record where someone waits, turns awkwardly or moves an object twice. Review those observations with the people responsible for the design.
Sort proposed purchases into essentials, workflow improvements and decoration. Use the spa startup cost guide to think through the broader budget. After opening or rearranging, adapt the customer satisfaction questions to ask about comfort, privacy and finding their way around. Let that feedback guide the next change.